Depending on your network you may have to move your SSL/TLS server certificate and its private key from one system to another. This article covers how to move your server certificate, and its private key from IIS that uses a single pfx/p12/pkcs#12 file to Apache that uses separate .pem,.crt, key files. This will require a conversion using OpenSSL that is on the Apache System.
You need both the public key and private keys for an SSL certificate to work properly on any system. Windows uses the pfx/p12 file to contain these two keys; therefore, if you need to transfer your SSL certificate from one server to another or store it someplace for safe keeping you need to create a .pfx backup.
Apache systems are very customizable. The directory location and naming of the individual files needed vary depending on your personalized system. Below are generalized instructions.
To backup, export, and move a SSL certificate from Windows IIS to Apache systems with its private key and intermediates perform the following steps.
Step 1: Create an MMC Snap-in for Managing Certificates on the IIS system:
- Start > run > MMC.

- Go into the Console Tab > File > Add/Remove Snap-in.

- Click on Add > Click on Certificates and click on Add.

- Choose Computer Account > Next.

- Choose Local Computer > Finish.
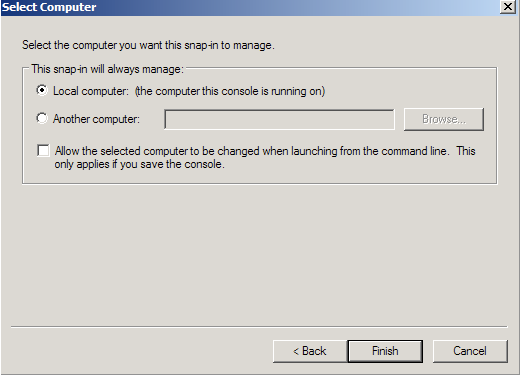
- Close the Add Standalone Snap-in window.
- Click on OK at the Add/Remove Snap-in window.
Step 2: Export/Backup certificate to .pfx file:
- In MMC Double click on Certificates (Local Computer) in the center window.
- Double click on the Personal folder, and then on Certificates.
- Right Click on the Certificate you would like to backup and choose > ALL TASKS >Export
- Follow the Certificate Export Wizard to backup your certificate to a .pfx file.
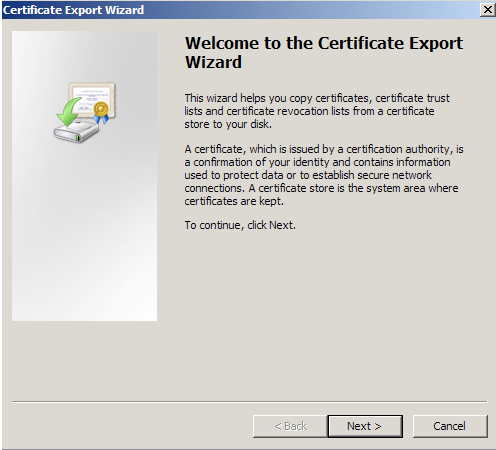
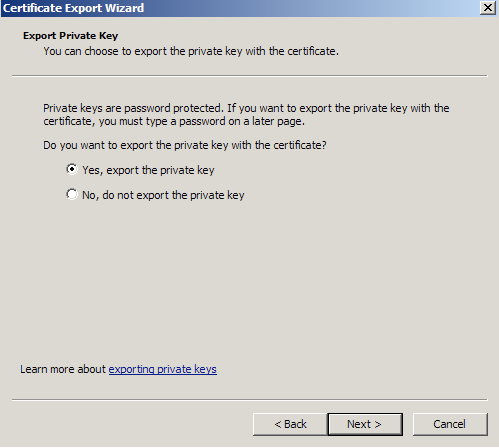
- Choose to ‘Yes, export the private key‘
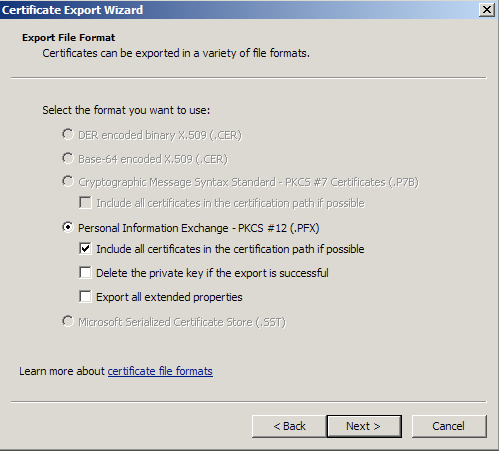
- Choose to “Include all certificates in certificate path if possible.” (do NOT select the delete Private Key option)
- Enter a password you will remember.
- Choose to save file on a set location, giving it a name of your choosing.
- Click Finish.
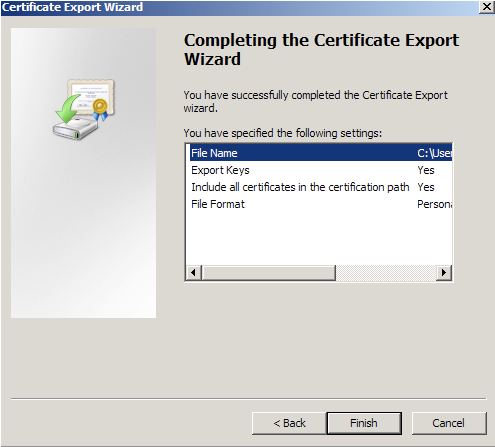
- You will receive a message “The export was successful.” > Click OK.
- The .pfx file backup is now saved in the location you selected and is ready to be moved or stored for your safe keeping.
Step 3: How to convert your pfx file to the Apache Environment:
- Move your .pfx file to your Apache system that has OpenSSL installed in a directory of your choosing.
- Run this OpenSSL command to create a text file with the contents of the .pfx file:
-
openssl pkcs12 -in yourcertfile.pfx -out yourcertfile.txt -nodes
- Open the mydomain.txt file that the command created in a text editor. Copy each certificate/private key to its own text notepad file including the Heater and Footer of each certificate Example:
For the private key:Save them with any unique names of your choosing such as mydomain.key, mydomain.crt, intermediateCA.crt, etc
----BEGIN RSA PRIVATE KEY-----
And
-----END RSA PRIVATE KEY-----
For the other Certificate Files:
-----BEGIN CERTIFICATE-----
And
-----END CERTIFICATE-----
- If you do not want to a passphrase included to you private key you can use the following command after you have created your .Key file This will make a copy of your private key without a passphrase.
openssl rsa -in mydomain.key -out mydomain2.key
Step 4: Installing your SSL certificate, Private key, and Intermediate files:
- Referencing the httpd.conf or ssl.conf file on the second Apache system look for the location and directories of the three files necessary.
- SSLCertificateFile /usr/local/ssl/crt/public.crt
SSLCertificateFile tells Apache how to find the the SSL certificate file. - SSLCertificateKeyFile /usr/local/ssl/private/private.key
SSLCertificateKeyFile tells Apache how to find the private key file.
- SSLCertificateChainFile /usr/local/ssl/crt/intermediate.crt
SSLCertificateChainFile or SSLCACertificateFile tells Apache the location of the Intermediate file.
- SSLCertificateFile /usr/local/ssl/crt/public.crt
- You will move your certificate files to these locations and change your httpd.conf file to reflect those file names.
- If you are using a different location and certificate file names than the example above (which most likely you are) you will need to change the path and filename to reflect your server.
Note: Some instances of Apache contain both a httpd.conf and ssl.conf file. Please enter or amend the httpd.conf or the ssl.conf with the above directives. Do not enter both as there will be a conflict and Apache may not start. - Save your httpd.conf file and restart Apache. You can most likely do so by using the apachectl script:
apachectl stop
apachectl startssl
You have moved your SSL certificate from Apache to Apache.
If you are unable to use these instructions for your server, Acmetek recommends that you contact either the vendor of your software or an organization that supports Apache.